- You must be running any 32 or 64 bit version of Windows. Windows 9x not supported.
- nLite needs .NET Framework 2.0 to be installed. If it is not you will be asked to do so uppon installer startup
- Alternatively you can download nuhi's Alternative Runtimes for nLite. These can be found on the Download page, however few people reported issues with it so if you get error popup on nLite startup then use full framework.
- Also, you need to have your Windows installation CD for the original Windows installation files
When installing .NET Framework 2.0 you will see this screen:
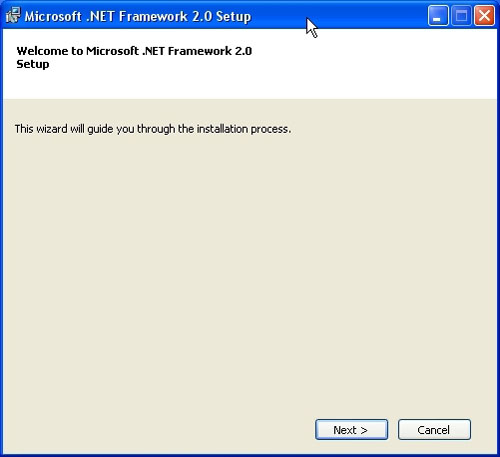
Click on 'Next' to proceed with the installation
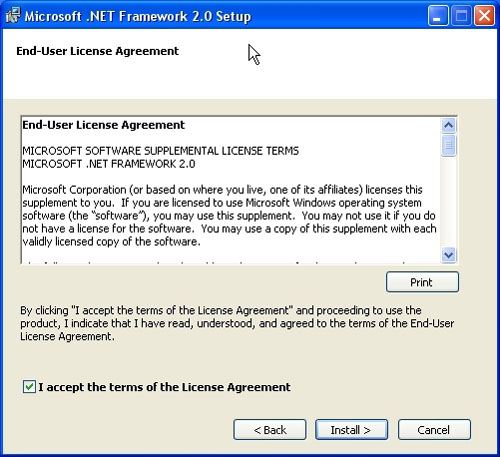
After .NET Framework is installed we are ready to begin

- Create a folder somewhere on your hard drive to copy the windows source files into
- I called mine 'XP_Source' but you can use whatever name you prefer. Just make sure there is adequate space on your hard drive to hold the files
- Copy the full content from the distribution cd into this folder
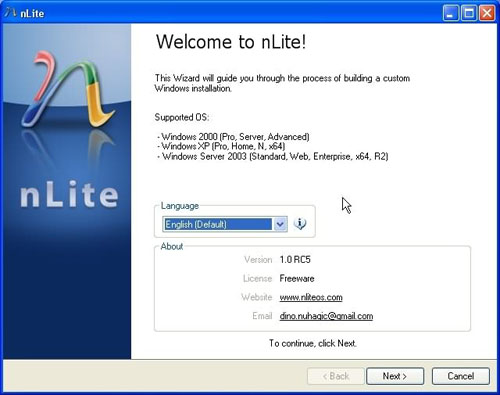
- Start nLite
- Welcome screen shows you which version of nLite you are running and allows you to choose an alternate language.
- To continue click on 'Next'.
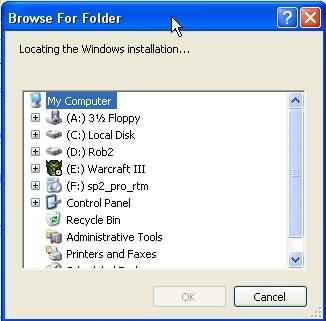
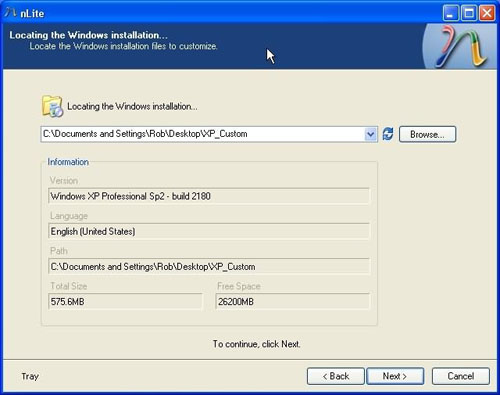
- We must now direct nLite to the folder which contains the windows installation files
- To do this Click on 'Browse'.
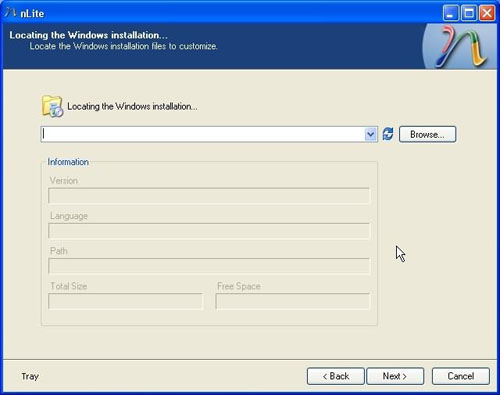
- Select the folder you created above
- nLite recognizes the language and version of your windows installation files
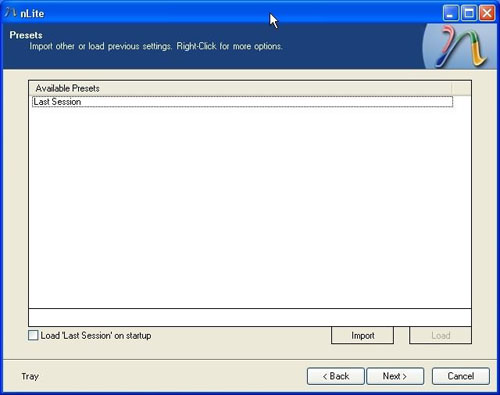
- You can save your current presets for future use or load presets from the last time you used nLite
- At this screen we have the options to choose what we would like nLite to accomplish for us
- These are some of the most advanced and customizable features within nLite
- In this example all of the pages are selected, but you can pick and choose which ones to proceed with

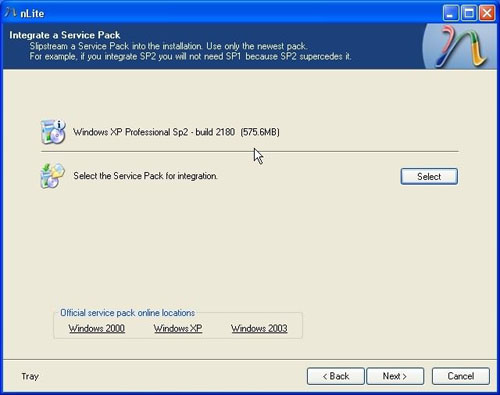
- To Integrate a Service Pack first download the correct pack for your operating system and save it to your hard drive
- Again, you can save it anywhere you want to on your hard drive. I personally chose to save it to my desktop so that I can delete it afterwards
- As you can see, nLite makes things easy for us!
- Links to download the most recent service pack are embedded within nLite
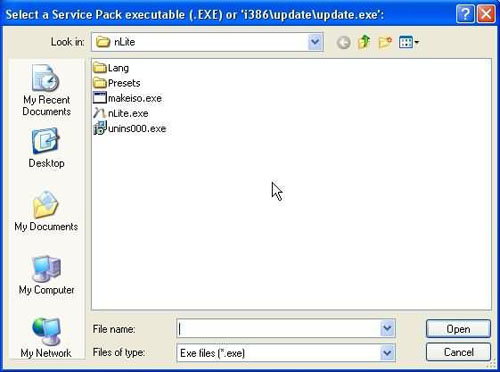
- We must now direct nLite to the service pack file that was downloaded in the step above
- Click on the 'Select' tab and the following box will appear
- Use the pull down arrow at the top of the window to help choose the correct file
- When you have located it, click on it, and and then select the 'Open' tab
- nLite will automatically extract and integrate the service pack into your windows distribution folder
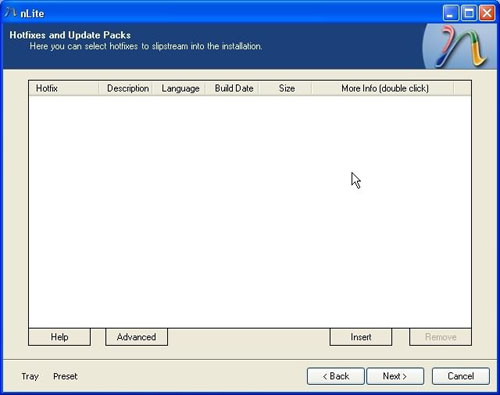
- In this window we have the option to add hotfixes and update patches into the installion
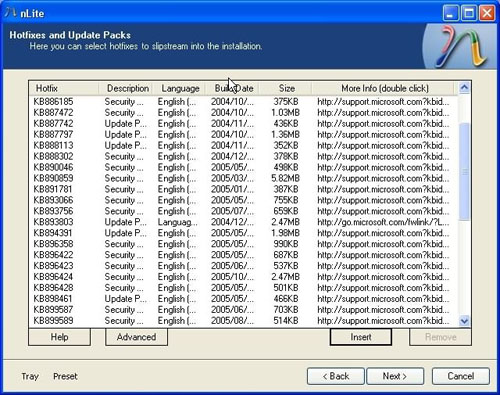
- I created a folder on my hard drive where I have downloaded all patches and updates for easy reference
- If you are using Internet Explorer, run Windows Update and look for the updates. Then download the actuall file by searching for it within Microsoft's website
- If you are using Mozilla, Firefox, or any other browser other than internet explorer, this link may be of some interest to you -
[ برای مشاهده لینک ، با نام کاربری خود وارد شوید یا ثبت نام کنید ]
After you have added all of the hotfixes which you have previously downloaded you should get something that looks like this
- Dont worry if you are not sure about whether an added file is supported. nLite will tell you
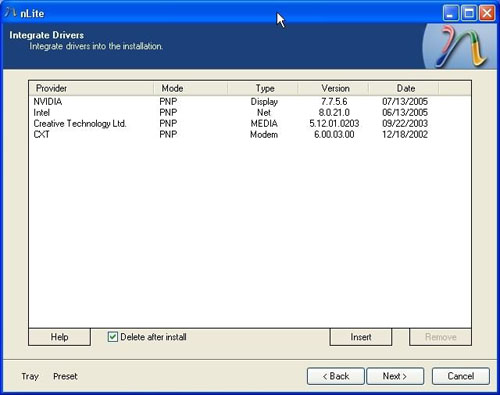
- Next we arrive at the option to integrate drivers that Windows does not install by default
- These can be drivers for almost any type of hardware as long as you use the correct driver
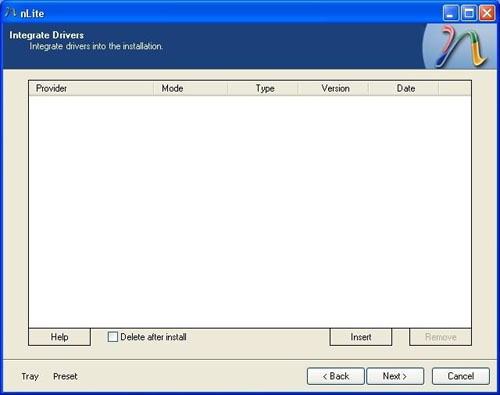
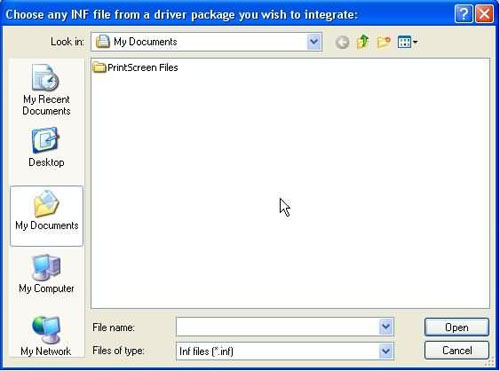
- Click on the 'insert' tab to search for drivers to install, make sure that you open .inf files only
- If your drivers are only in the .exe format you can sometimes extract them with Winzip, Powerarchiver, Winrar ...
- You should then have something similar to the screen below:
- Click the 'Next' button and you will be taken to the 'Remove Components' page
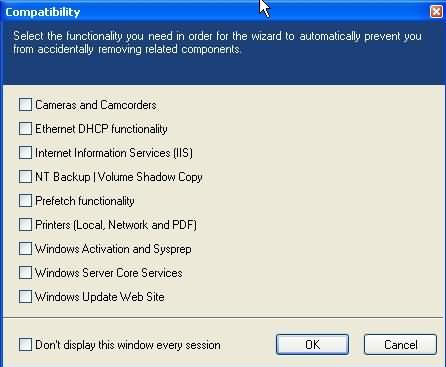
- In order to prevent you from removing a component that you need, make sure that you select the appropriate options in the next window
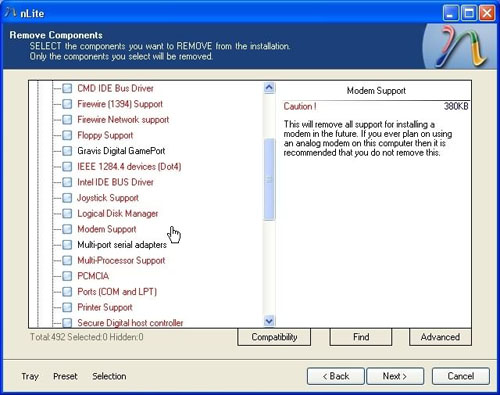
- We then come to the Components selection
- As you click on each corresponding + sign you will see a brief description in the right preview pane
- Pay special attention to anything highlighted in Red, be sure of what you are doing before removing these ones!
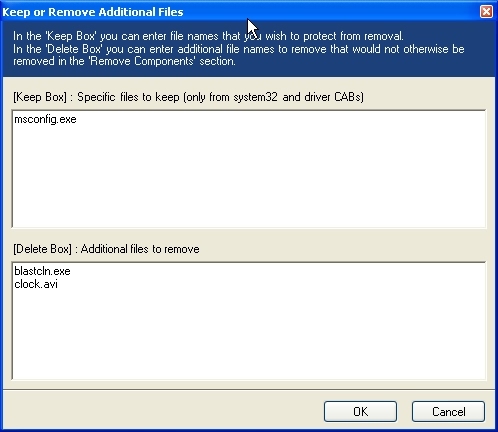
- The 'Advanced' button is used to add or remove additional files
- If you are not sure about this it is best not to even click it
- A friend of mine once stated, 'when it doubt, leave it out'.. lol
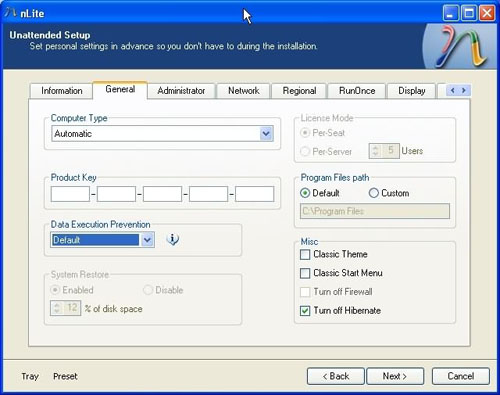
- If you click on the 'Next' button you will arrive at the Unattended Setup portion
- This section allows you to provide an answer ahead of time to all of the questions that windows typically asks during installation, such as your cd key, networking information, and time zone
- This can really speed things up if it is done correctly

- Browse through all the tab pages and make adjustments if needed
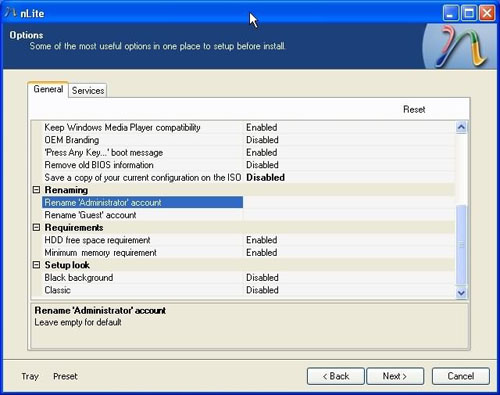
- Options page allows some further tweaking which takes place automatically while windows installs
- If you click on the 'Services' button you can change which services run in the background while windows runs
- Click on 'Enable' and then select 'Reset' to modify each value
- Some of these services are necessary for windows to perform certain tasks while it is operating
- If you make a mistake here you can always change these values after windows installs by typing in 'Services.msc' in the 'Run' on your 'Start menu'.
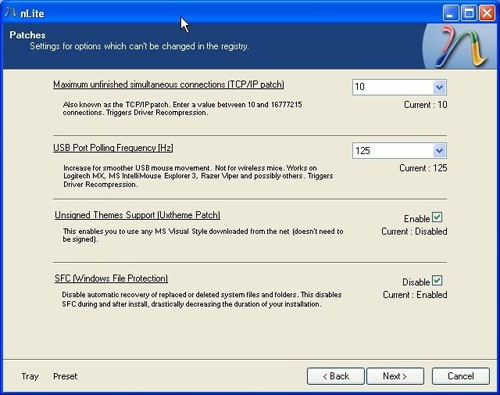
- On the Patches page you can use some of the commonly used patches, they are generic and thus recommended over overwriting with prepatched files from the net.
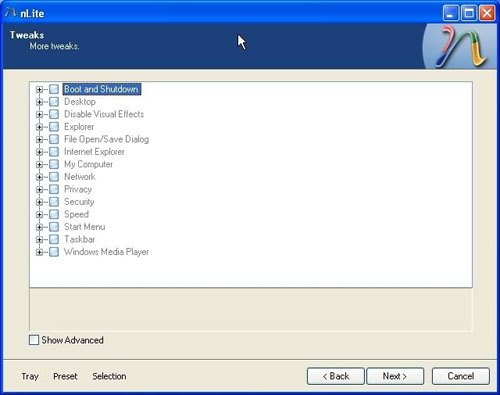
- Here we have some additional tweaks which are optional as well - Click 'Next' to perform more tweaks with the way windows looks and feels after it is installed
- When you have re-configured everything to your liking, click on 'Next' to continue
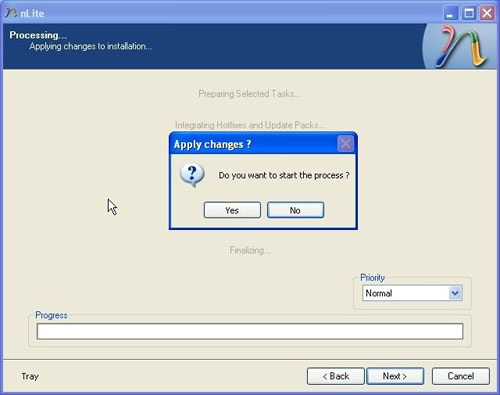
- nLite will ask you to confirm, select 'Yes' to continue
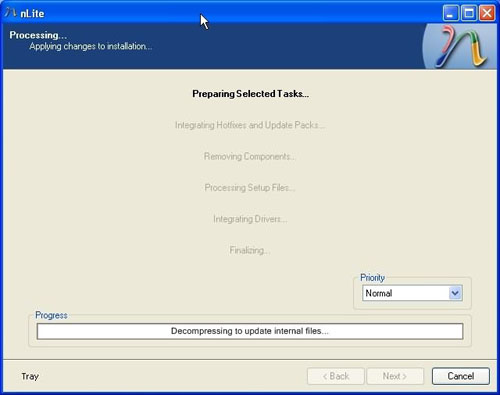
- nLite will start processing all of the selected tasks
- The exact length of time it takes will vary on your system and on the number of tasks it is asked to perform
- Click the 'Next' to create an ISO compatible for cd burning
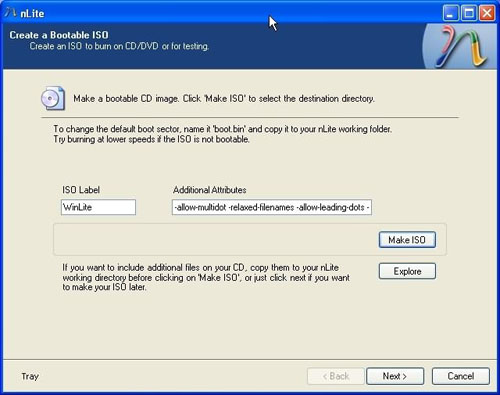
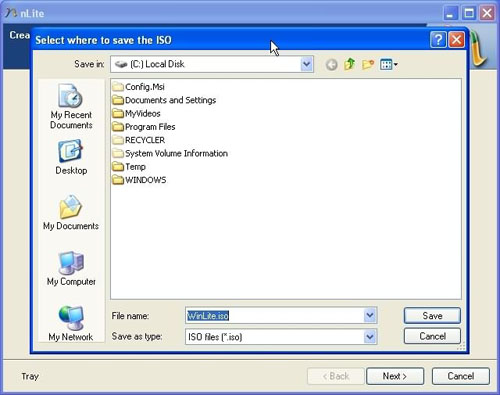
Click on the 'Make ISO' button and nLite will ask you were you would like to save this file
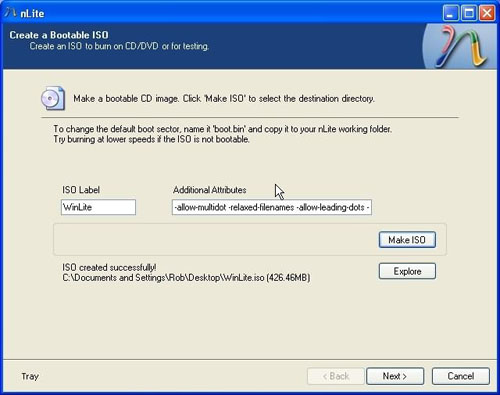
- You now have a bootable ISO image of your customized windows installation!
- To create the new cd open the ISO file with your cd writing software
nliteos.com


 جواب بصورت نقل قول


